Keep your little ones entertained for hours with this easy DIY crayon holder.
In this easy sewing tutorial, we’ll show you how to make a crayon holder with our VELCRO® Brand Sticky Back for Fabrics Tape. Perfect for parents on the go, this crayon holder allows you to take your kid’s crayons from errand to errand, leaving your kids enriched and happy.
How to Make A Crayon Holder
What You’ll Need
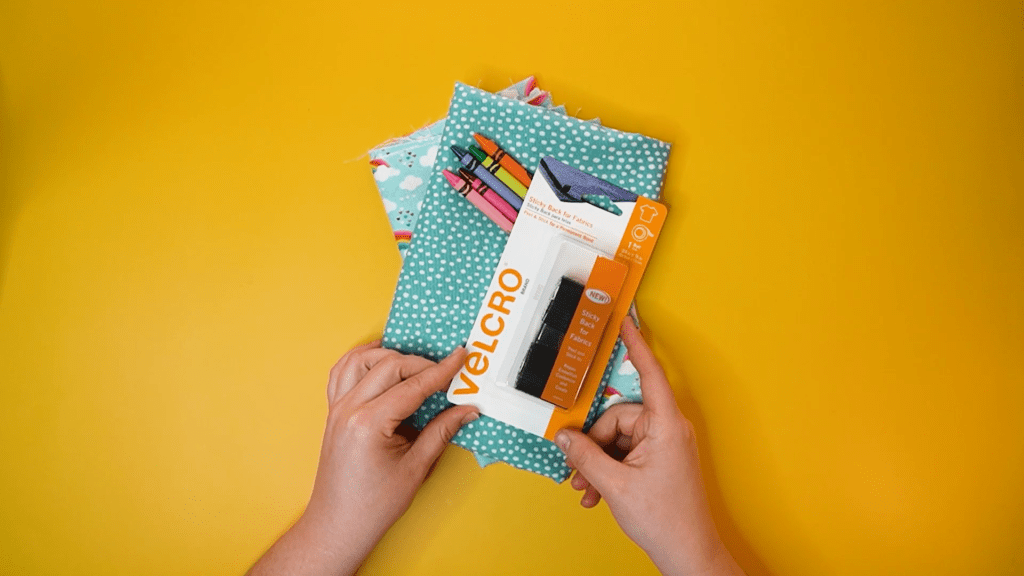
- ¼ yard of fabric A
- ¼ yard of fabric B
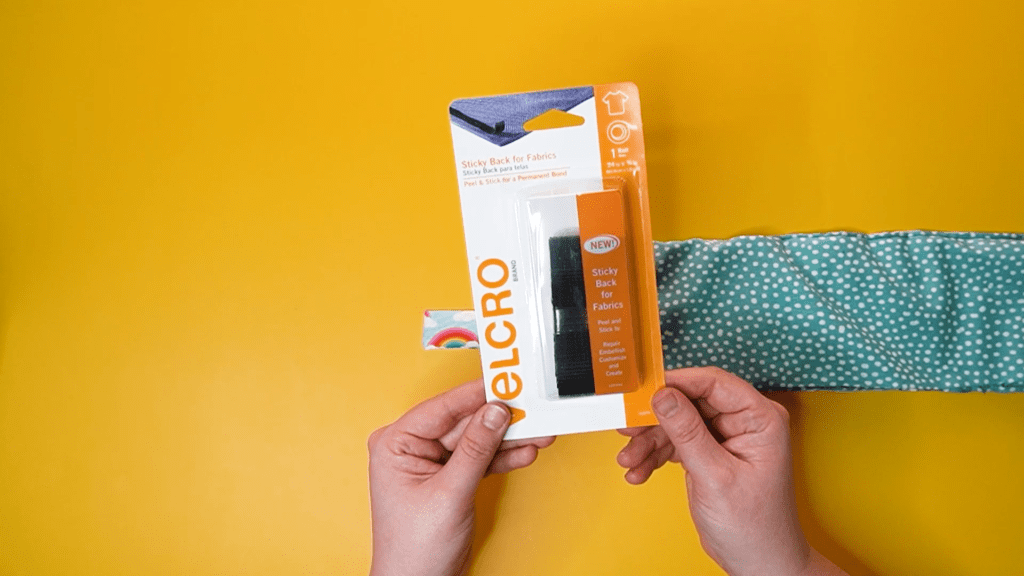
- VELCRO® Brand Sticky Back for Fabric Tape
- Clips or Pins
- Scissors
- Iron
- Sewing Machine and thread
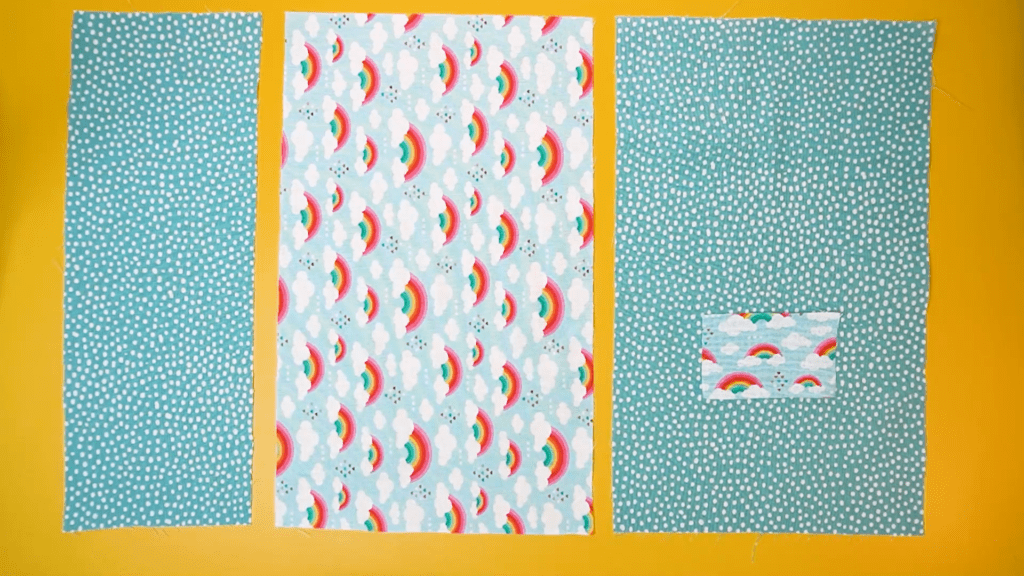
Start by choosing your fabric. Then cut your fabric into the following sizes:
- 15” x 9.5” fabric A (outer piece)
- 15” x 5.5” fabric A (pocket)
- 2.5” x 3.5” fabric A (strap)
- Cut one piece of 15” x 9.5” of fabric B (flap)
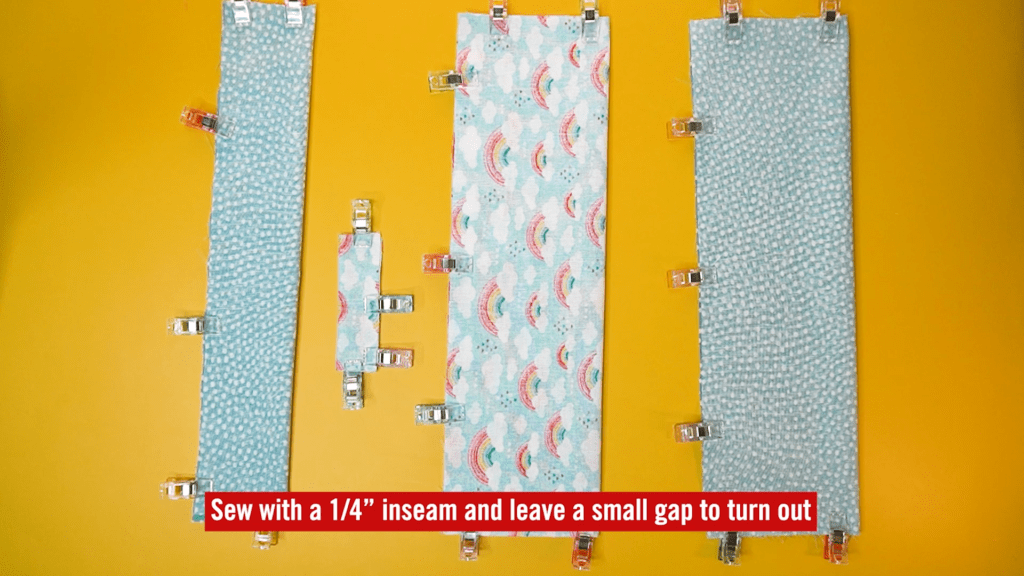
Now it’s time for the fun part! Fold each fabric in half length-wise and sew around each piece, leaving a ¼” inseam and a small gap to turn out. While sewing the outer section of the pouch, leave a small 2” gap in the middle of the right edge. (This is where your strap will be sewn in.)
Turn out each piece and iron.
Next, place the strap into the gap left on the outer section. Pin or clip in place. Topstitch around the bottom and the sides.
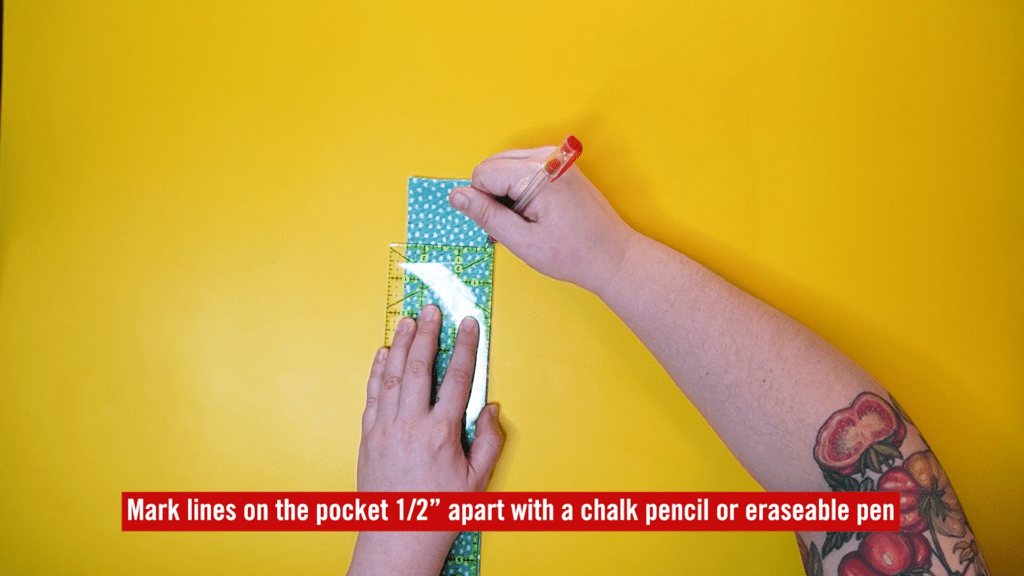
For a custom fit, place your crayons inside of the pocket. Use a ruler and a pen with disappearing ink (or a pencil) to draw crisp lines.
Sew along the lines, making several small pockets.
Iron to erase the marking or use an eraser if you used a pencil.
Now, align the flap to the top of the roll. Pin and sew along the top.
Last but not least, place one side of the VELCRO® Brand Sticky Back For Fabric Tape on the tab, and the other on the back of the roll.
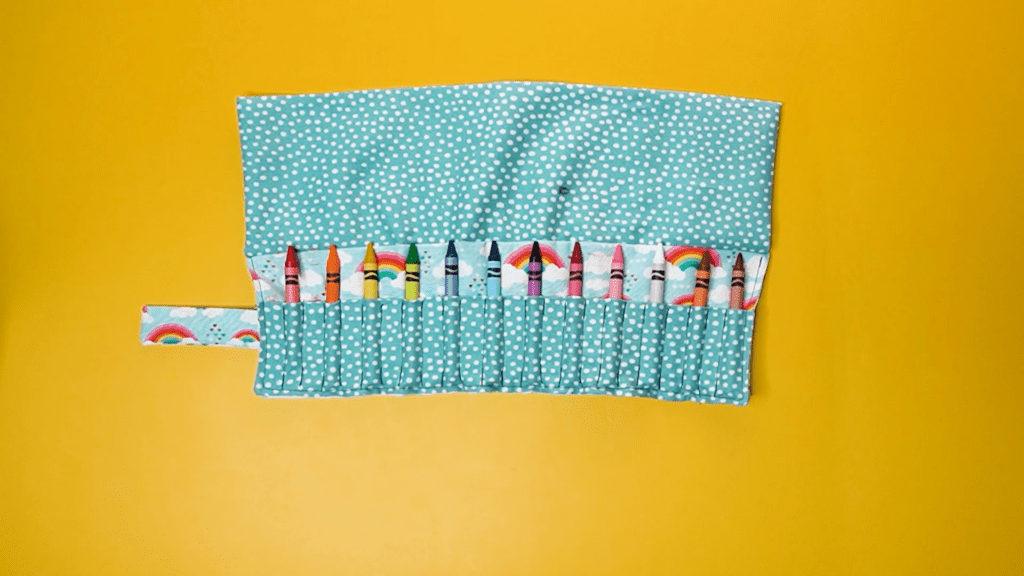
Make sure they line up, and that’s it! Place your crayons inside, roll up, and go! Now you have a great crayon holder your kids can take on the go!